
Industry information
Company News
- Punched aluminum veneer, a new choice for fashionable decoration!
- Aluminum curtain wall: the fashionable coat of modern architecture
- Aluminum veneer, multiple options, outdoor durability, details revealed!
- Unlimited creativity, perforated aluminum veneer creates a fashionable space
- Shantou carved aluminum veneer, unique art, savoring a new realm of life
Industry dynamics
- What are the cleaning and maintenance methods for fluorocarbon aluminum veneer?
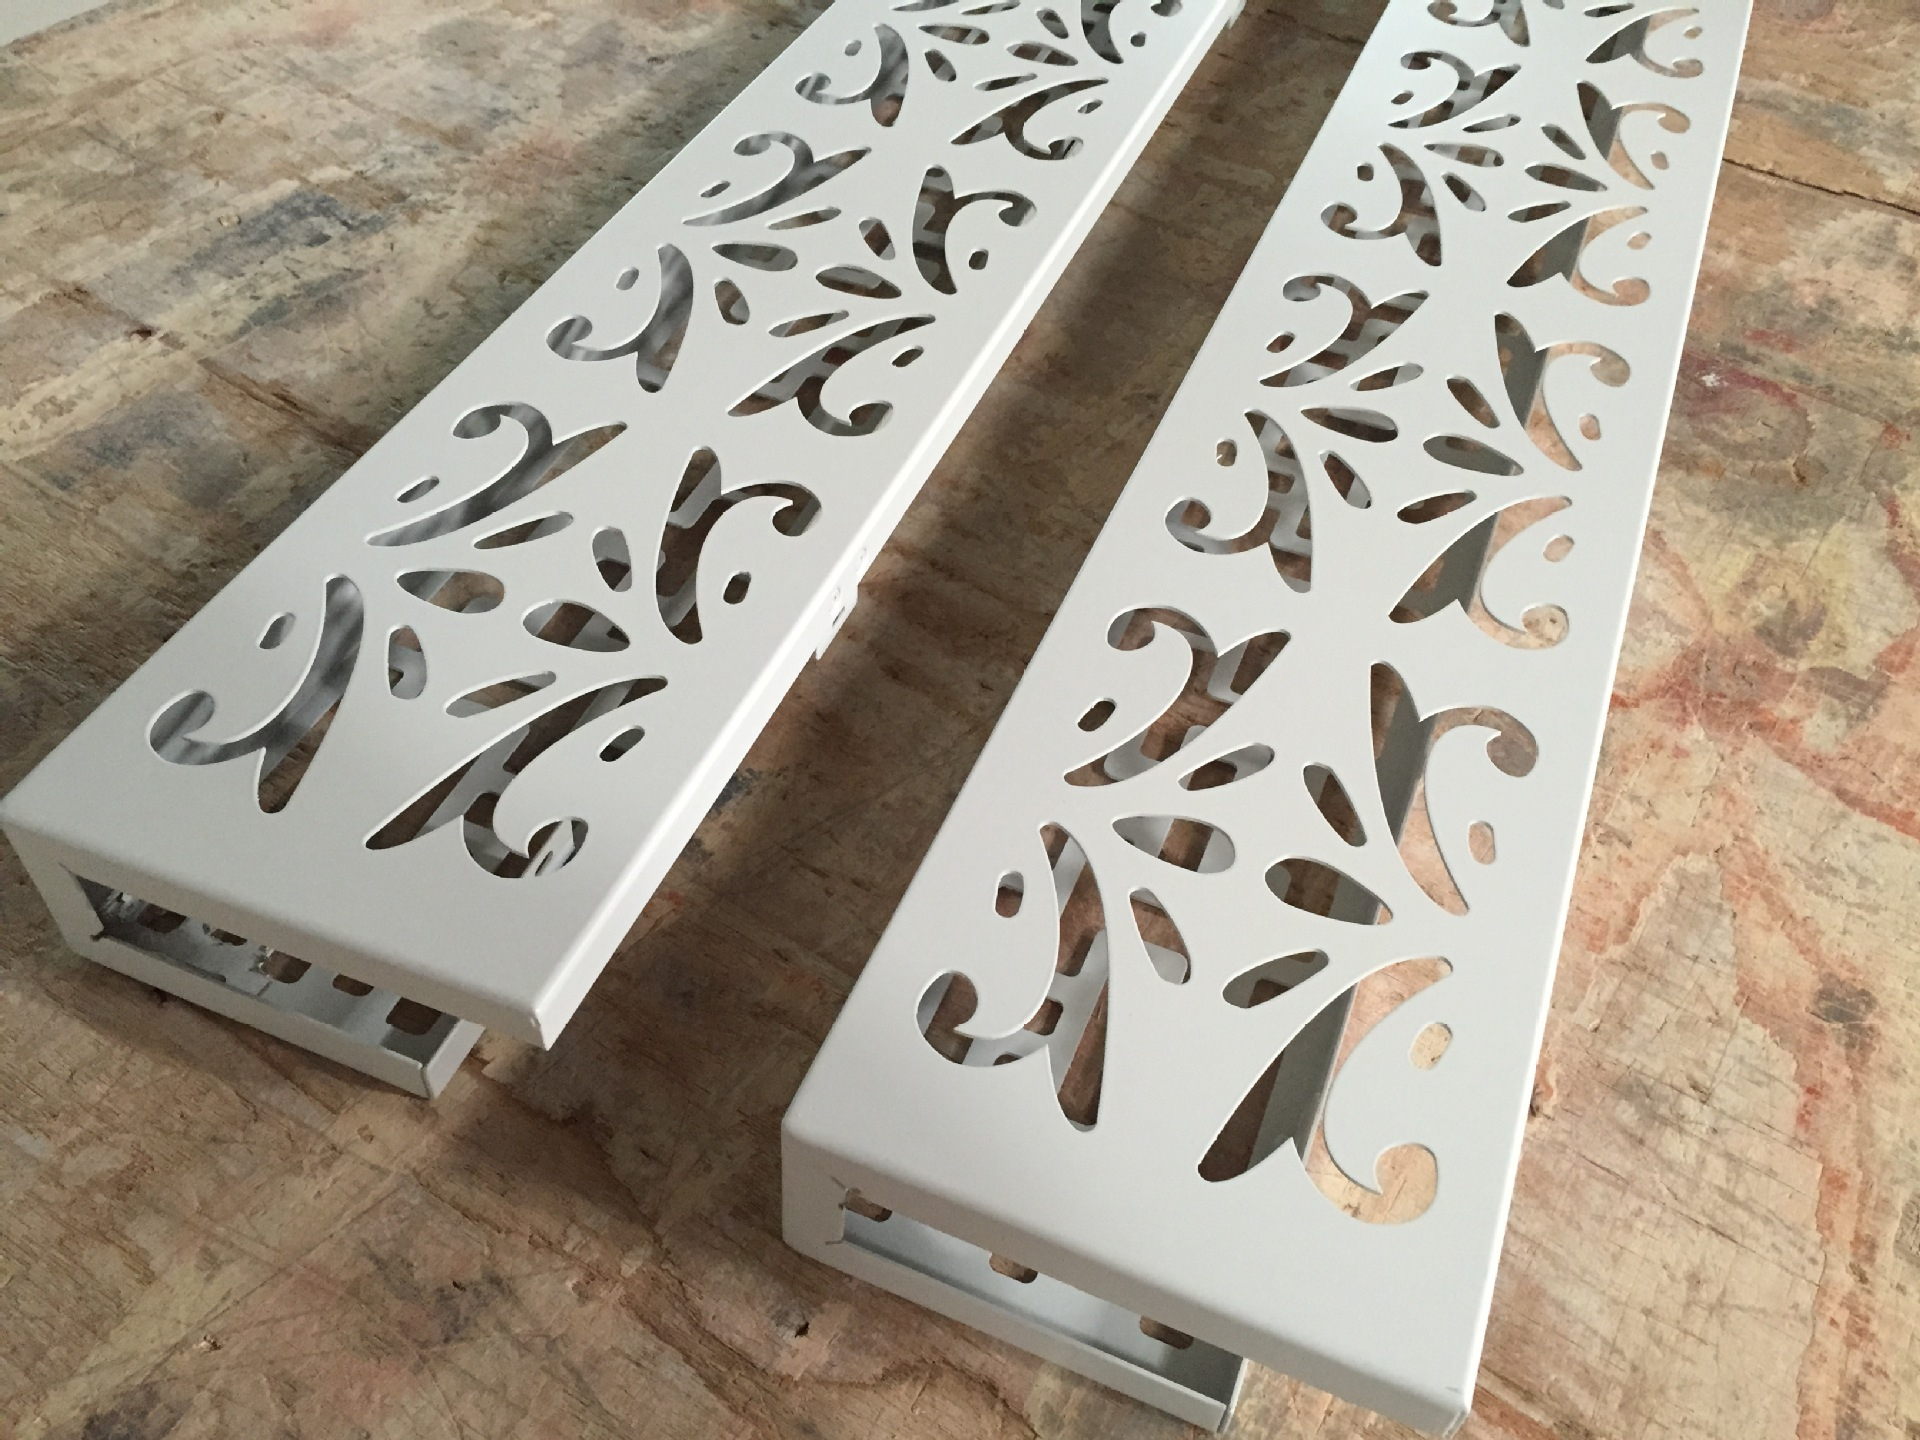
- Design and application of special-shaped carved aluminum veneer
- The advantages and future development trends of honeycomb aluminum panel curtain wall
- Aluminum veneer color selection and matching are brilliant!
- Customized aluminum veneer, creating a new choice for personalized space!
Frequently asked questions
- What are the surface treatment methods for aluminum veneer?
- What factors affect the price of aluminum veneer?
- What are the installation methods and precautions for aluminum veneer?
- What is the approximate production cost of aluminum veneer?
- How to identify the quality of aluminum veneer?
contact us
Mobile:+86 15627778610
Email: 2201229786
Address: No. 5 Binjiang Road, High tech Zone, Zhaoqing City, Guangdong Province
What are the installation steps for aluminum veneer?
- Author: Supreme Building Materials (Guangdong) Co., Ltd
- Release time: 2022-02-24 05:20:48
- Click:0

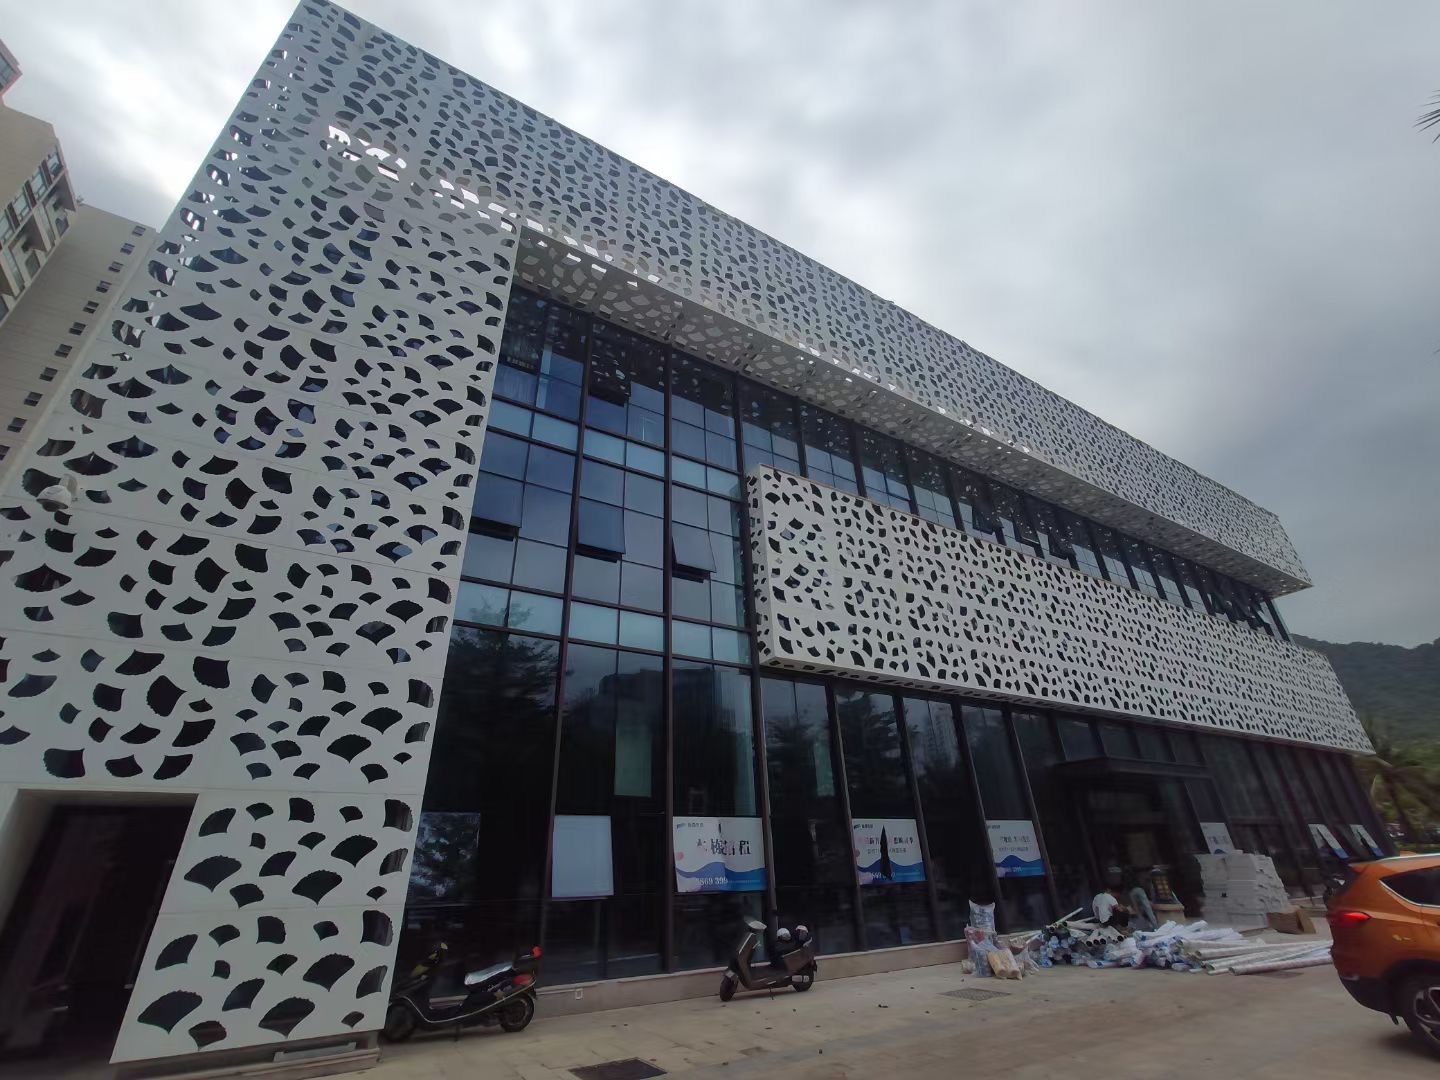
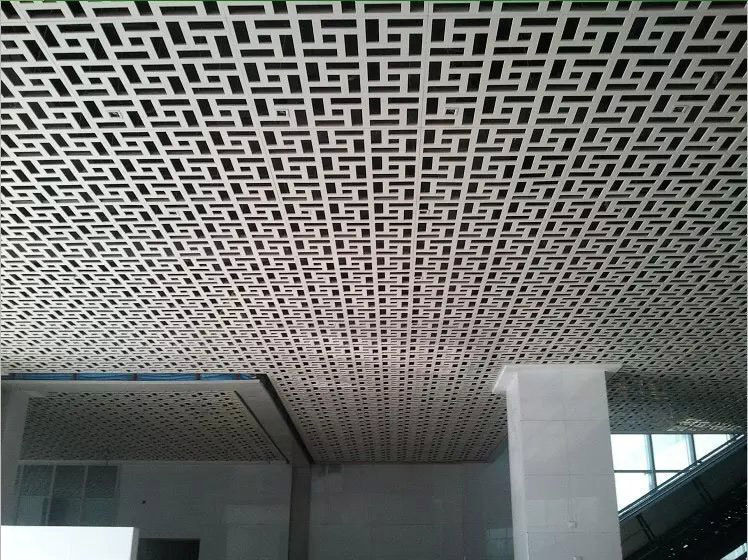
Aluminum veneer is a widely used building material in fields such as architecture, billboards, curtain walls, etc. Its installation steps are of great significance for ensuring construction quality and effectiveness. The following will provide a detailed introduction to the installation steps and precautions for aluminum veneer.
1. Determine the installation location and size
Before installing the aluminum veneer, it is necessary to first determine its installation position and size. This includes measuring and marking the installation position, determining the length, width, and height of the aluminum veneer, etc. When determining the size, it is necessary to pay attention to the tolerance range of the aluminum veneer to ensure that the installed effect meets the requirements.
1. Prepare installation tools and materials
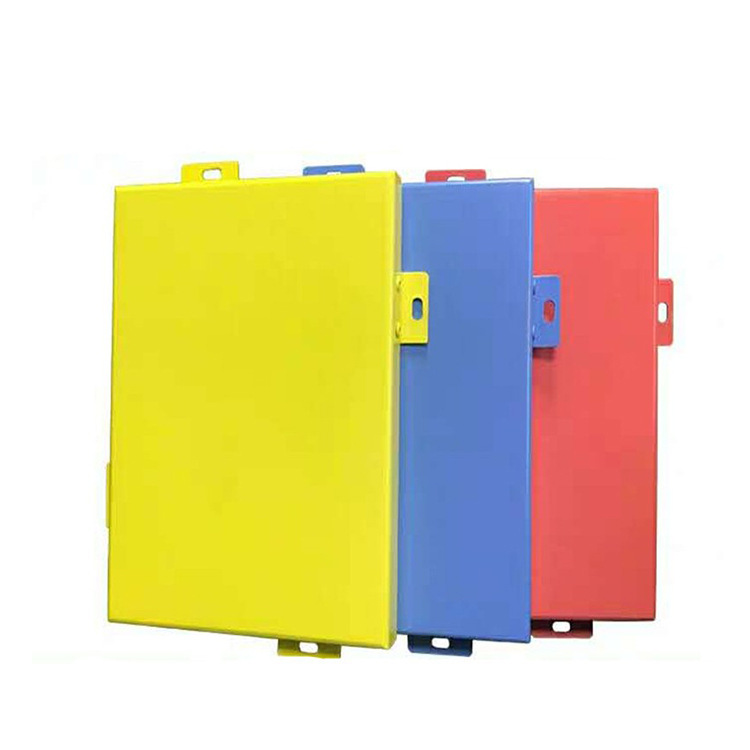
Before installing the aluminum veneer, it is necessary to prepare the corresponding installation tools and materials. These tools include drills, screwdrivers, wrenches, level gauges, etc., while materials include aluminum veneer bodies, keels, corner brackets, sealants, etc. When using materials and tools, it is necessary to check their quality and integrity to ensure that they meet installation requirements.
1. Install the keel and corner bracket
Before installing the aluminum veneer, it is necessary to first install the keel and corner bracket. This can be accomplished through the use of tools such as electric drills and screwdrivers. When installing the keel, it is necessary to ensure that its flatness and verticality meet the requirements. The quantity and position of the keel need to be determined according to the requirements of the design drawings. When installing the corner bracket, it is necessary to fix it on the keel and ensure its firmness and reliability.
1. Install aluminum veneer
After completing the installation of the keel and corner brackets, you can start installing the aluminum veneer. This can be accomplished through the use of tools such as electric drills and screwdrivers. When installing aluminum veneer, it is necessary to ensure that its flatness and verticality meet the requirements. The position and quantity of aluminum veneer need to be determined according to the requirements of the design drawings. During the installation process, it is also necessary to pay attention to the size of the gaps and seams between the aluminum veneers to ensure their aesthetics and sealing.
1. Handle seams and edges
After completing the installation of aluminum veneer, it is necessary to perform joint and edge sealing treatment. This can be achieved by using materials such as sealant. When handling seams, it is necessary to ensure that their flatness and sealing meet the requirements. It also needs to be processed according to the requirements of the design drawings. When sealing edges, it is necessary to pay attention to whether the thickness and color of the material meet the requirements to ensure its aesthetics and durability.
The installation steps of aluminum veneer include determining the installation position and size, preparing installation tools and materials, installing keel and corner brackets, installing aluminum veneer, and processing joints and edges. During installation, attention should be paid to the quality and effectiveness of each step to ensure that the construction quality meets the requirements.
 Customer service QQ